2018 hyundai elantra owners manual
Welcome to the 2018 Hyundai Elantra Owners Manual‚ your comprehensive guide to understanding and maintaining your vehicle. This manual provides essential information on safety‚ features‚ and troubleshooting.
Importance of the Manual for Vehicle Operation and Maintenance
The 2018 Hyundai Elantra Owners Manual is crucial for proper vehicle operation and maintenance. It provides detailed instructions for optimizing performance‚ ensuring safety‚ and preventing damage. Regular maintenance schedules and troubleshooting guides help owners address issues promptly‚ saving time and costs. The manual also serves as a long-term reference‚ ensuring the vehicle remains in excellent condition for years. It is essential for both new and experienced drivers to familiarize themselves with its contents.
Key Features and Updates in the 2018 Hyundai Elantra Model
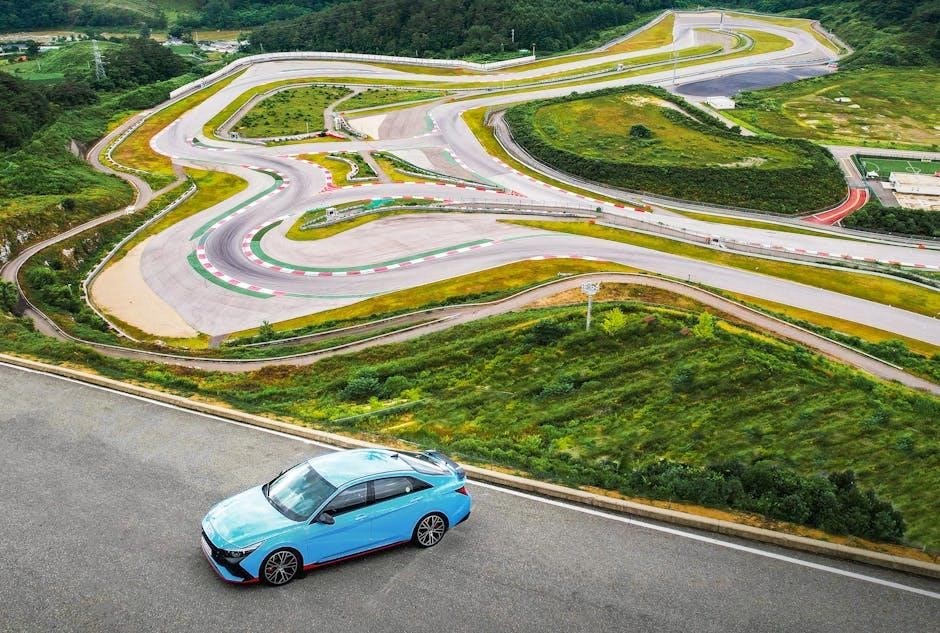
The 2018 Hyundai Elantra features a refined design‚ enhanced safety systems‚ and improved performance. It includes a dual-clutch transmission with seven speeds for smoother driving. Advanced safety features like forward collision avoidance and lane-keeping assist were introduced. The infotainment system now offers an 8-inch touchscreen with Apple CarPlay and Android Auto compatibility. These updates ensure a safer‚ more connected‚ and enjoyable driving experience compared to previous models.

Instrument Cluster and Controls
The instrument cluster displays essential gauges like speed‚ RPM‚ fuel level‚ and temperature. Controls for audio‚ climate‚ and driver assistance systems are intuitively placed for easy access.
Understanding the Dashboard Layout and Gauges
The 2018 Hyundai Elantra’s dashboard is designed for clarity and convenience. The central digital display provides vital information like speed‚ RPM‚ and fuel level. Analog gauges for engine speed and fuel are complemented by digital indicators for temperature and gear position. Warning lights alert drivers to system issues‚ ensuring safety and maintenance are prioritized. The layout is intuitive‚ with controls for audio‚ climate‚ and driver assistance systems easily accessible‚ minimizing distractions while driving.

Explanation of Warning Lights and Indicators
The 2018 Hyundai Elantra features a range of warning lights and indicators on the instrument cluster. These lights alert the driver to potential issues‚ such as low oil pressure‚ high engine temperature‚ or malfunctions in the tire pressure monitoring system. When a warning light illuminates‚ refer to the manual for specific explanations and recommended actions. Addressing these indicators promptly ensures vehicle safety and prevents potential damage. Regular checks and maintenance can help avoid unnecessary warnings.

Operating the Vehicle
The 2018 Hyundai Elantra owner’s manual provides detailed guidance on starting the engine‚ shifting gears‚ and using brakes. Proper driving practices ensure safety and optimal performance.
Starting and Stopping the Engine

To start the engine‚ insert the key‚ turn to the “ON” position‚ then press the ignition button. Ensure the parking brake is engaged and shift into park. For stopping‚ slow down gradually‚ shift to park‚ and press the ignition button. Always follow proper shutdown procedures to avoid damage and ensure safety. This process is detailed in the 2018 Hyundai Elantra manual for smooth operation.
Transmission and Driving Modes
The 2018 Hyundai Elantra features a dual-clutch transmission with seven forward speeds and one reverse. Driving modes include Eco‚ Normal‚ and Sport‚ each optimizing engine and transmission response. Eco mode enhances fuel efficiency‚ while Sport mode delivers sharper acceleration. Proper use of these modes ensures a smooth and efficient driving experience. Always refer to the manual for detailed guidance on transmission operation and mode selection.

Safety Features and Precautions
The 2018 Hyundai Elantra Owners Manual details essential safety features and precautions to ensure a secure driving experience. Always review this section to understand vehicle safety systems.
Airbag System and Seatbelt Information
The 2018 Hyundai Elantra Owners Manual provides detailed information about the airbag system‚ including front‚ side‚ and curtain airbags designed to enhance passenger safety. Proper seatbelt usage is emphasized‚ with features like pretensioners and load limiters to ensure maximum protection. The manual also warns against improper installation or modification of airbags‚ which could lead to system failure. Always refer to the manual for guidance on maintaining and inspecting these critical safety components.
Advanced Driver Assistance Systems (ADAS)
The 2018 Hyundai Elantra features an array of advanced driver assistance systems‚ including Forward Collision-Avoidance Assist and Lane Keeping Assist. These systems enhance safety by automatically intervening in critical driving situations. The manual provides detailed instructions on how to activate and customize these features‚ ensuring optimal performance. Drivers are advised to familiarize themselves with ADAS settings to maximize their effectiveness and improve overall driving confidence on the road.

Maintenance and Service Schedule
Regular service visits are crucial for optimal performance. Follow the recommended schedule for oil changes‚ tire rotations‚ and inspections. Ensure timely maintenance at authorized Hyundai dealers.
Recommended Maintenance Intervals
The 2018 Hyundai Elantra requires regular maintenance to ensure optimal performance and longevity. Oil changes are recommended every 5‚000 to 7‚500 miles‚ while tire rotations should occur every 6‚000 miles. Brake inspections are advised every 12‚000 miles‚ and the air filter should be replaced every 15‚000 miles. The timing belt replacement is due at 60‚000 miles. Adhering to these intervals helps prevent mechanical issues and ensures your vehicle runs smoothly. Always consult the manual for specific guidelines.
DIY Maintenance Tips and Guidelines
Performing routine DIY maintenance can help extend the life of your 2018 Hyundai Elantra. Regularly check fluid levels‚ inspect air filters‚ and monitor tire pressure. Oil changes and tire rotations can be done at home with proper tools. Always use genuine Hyundai parts for reliability. Refer to the manual for step-by-step instructions and safety precautions. Keeping a maintenance log ensures you stay on track with scheduled services and helps maintain your vehicle’s value. Always follow manufacturer guidelines for best results.
Infotainment and Technology Features
The 2018 Hyundai Elantra offers advanced infotainment systems‚ including navigation‚ Bluetooth connectivity‚ and premium audio. These features enhance your driving experience with seamless integration and entertainment options.
Navigation‚ Bluetooth‚ and Audio Systems
The 2018 Hyundai Elantra features an advanced infotainment system with navigation‚ Bluetooth connectivity‚ and a high-quality audio setup. The navigation system provides turn-by-turn directions‚ while Bluetooth allows seamless smartphone pairing for hands-free calls and music streaming. The audio system delivers clear sound quality‚ enhancing your driving experience. These technologies integrate effortlessly‚ ensuring convenience and entertainment on the road. Proper setup and configuration are detailed in the manual for optimal functionality.
Pairing Smartphones and Using Voice Commands
Pairing your smartphone with the 2018 Hyundai Elantra’s infotainment system is straightforward. Enable Bluetooth on your phone and navigate to the car’s settings menu to activate Bluetooth pairing. Select your phone from the available devices‚ and confirm the connection on both ends. For voice commands‚ press the button on the steering wheel and speak clearly‚ such as “Call [contact]” or “Play [song].” The manual provides detailed instructions and troubleshooting tips for a seamless experience.

Troubleshooting Common Issues
This section helps identify and resolve common issues in your 2018 Hyundai Elantra. Use the manual to diagnose problems‚ reset systems‚ and address error codes effectively.
Diagnosing Problems Using the Manual
The 2018 Hyundai Elantra Owners Manual provides detailed guidance for diagnosing common issues. It includes descriptions of warning lights‚ troubleshooting steps‚ and maintenance schedules. By referring to the manual‚ owners can identify potential problems early‚ such as unusual dashboard indicators or performance issues. The manual also offers solutions for resetting systems and addressing error codes‚ helping to prevent minor issues from becoming major repairs. Regular consultation ensures optimal vehicle performance and longevity.

Resetting Systems and Addressing Error Codes
To reset systems and address error codes in your 2018 Hyundai Elantra‚ consult the owner’s manual. Identify warning lights and their meanings‚ as they indicate specific issues. The manual provides instructions for resetting systems‚ which may involve using a scan tool or following a sequence of steps with the car’s controls. Always take safety precautions‚ such as disconnecting the battery if necessary‚ and refer to the manual for troubleshooting tips and common error codes. This ensures safe and effective resolution of issues‚ potentially avoiding unnecessary mechanic visits. Regular consultation helps maintain optimal performance and longevity of your vehicle.
Downloading the 2018 Hyundai Elantra Owners Manual PDF
Visit the official Hyundai website‚ select your vehicle model and year‚ and download the manual in PDF format for easy access and reference.
Steps to Access the Digital Version
To access the digital version of the 2018 Hyundai Elantra Owners Manual‚ visit the official Hyundai website. Select your vehicle’s model year and type. Navigate to the support or resources section‚ where you’ll find an option to download the manual in PDF format. Ensure you have a compatible device and sufficient storage space. Follow the on-screen instructions to complete the download and save it for future reference. This digital copy offers convenience and easy access to essential information.
Benefits of Having a Digital Copy
A digital copy of the 2018 Hyundai Elantra Owners Manual offers unparalleled convenience. Access it anytime‚ anywhere without physical storage constraints; The PDF format allows easy searching for specific topics using keywords. Regular updates ensure you have the latest information. Sharing the manual is also straightforward. Additionally‚ it reduces clutter and supports environmental sustainability by eliminating the need for paper. A digital copy enhances your ownership experience with instant access to vital information.