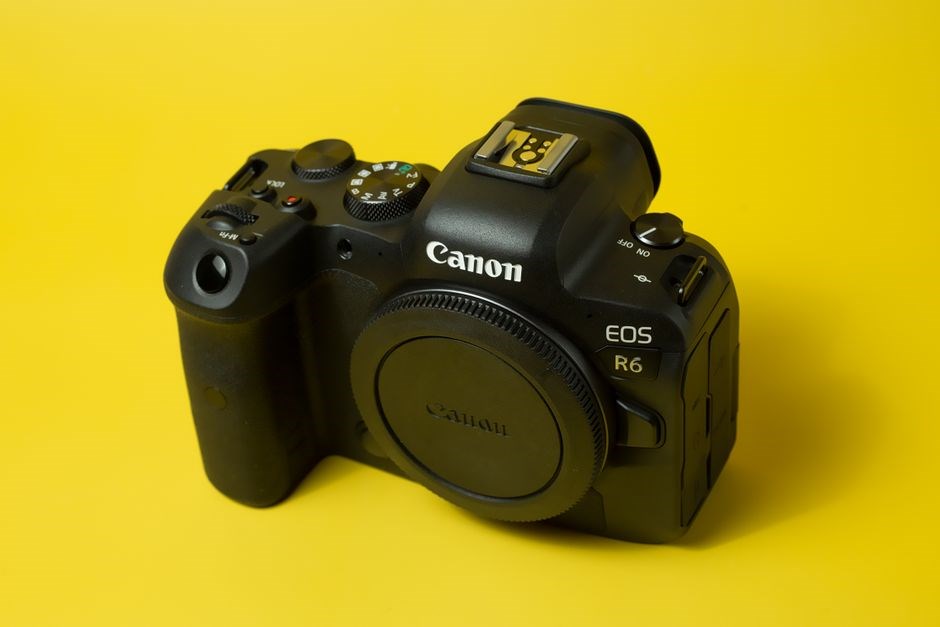
canon 6d mk2 manual

The Canon 6D Mark II manual guides users through setup, shooting, and maintenance. It covers sensor details, autofocus, exposure modes, and menu navigation. Step‑by‑step instructions help beginners and pros alike, ensuring optimal performance and creative control;It covers lens, battery, troubleshooting.!
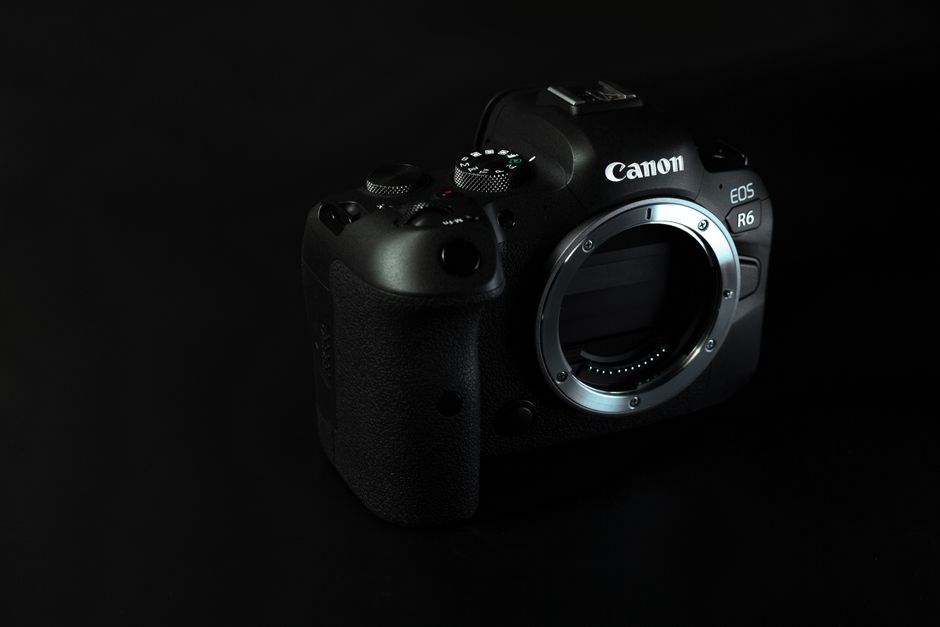
1.1 Key Features Overview
The Canon 6D Mark II manual highlights the camera’s core attributes that define its performance. At the heart is a 26.2‑megapixel full‑frame CMOS sensor, delivering high dynamic range and low‑noise images even at ISO 25600. The DIGIC 7 processor powers fast continuous shooting up to 6 fps and a 61‑point autofocus system that includes 41 cross‑type points for reliable focus in diverse lighting. Dual‑card slots support simultaneous write to CFexpress and SD cards, enabling backup and extended recording. The 3‑inch touchscreen LCD offers intuitive menu navigation and live‑view shooting, while the 3‑point electronic viewfinder provides a clear preview with adjustable brightness. Built‑in Wi‑Fi and NFC allow quick image transfer and remote control via the Canon Camera Connect app. The battery life reaches up to 1,200 shots (CIPA), and the body’s robust magnesium‑aluminum alloy construction resists dust and moisture. These features combine to make the 6D Mark II a versatile tool for both still photography and video, offering a balance of image quality, speed, and connectivity that appeals to hobbyists and professionals alike.
Additionally, the 6D Mark II supports 4K video at 30 fps. Dual‑card slots accept CFexpress and SDXC UHS‑II cards. The built‑in 3‑point electronic viewfinder offers 0.5‑inch OLED display with 1,040,000 dots, and the 3‑inch touchscreen LCD supports touch focus. The camera’s magnesium‑aluminum alloy and 10‑point autofocus system with face‑tracking provide reliable performance.
It records 4K at 30fps with full‑pixel readout, no crop. It also offers 10fps continuous shooting in RAW and 60fps HD.
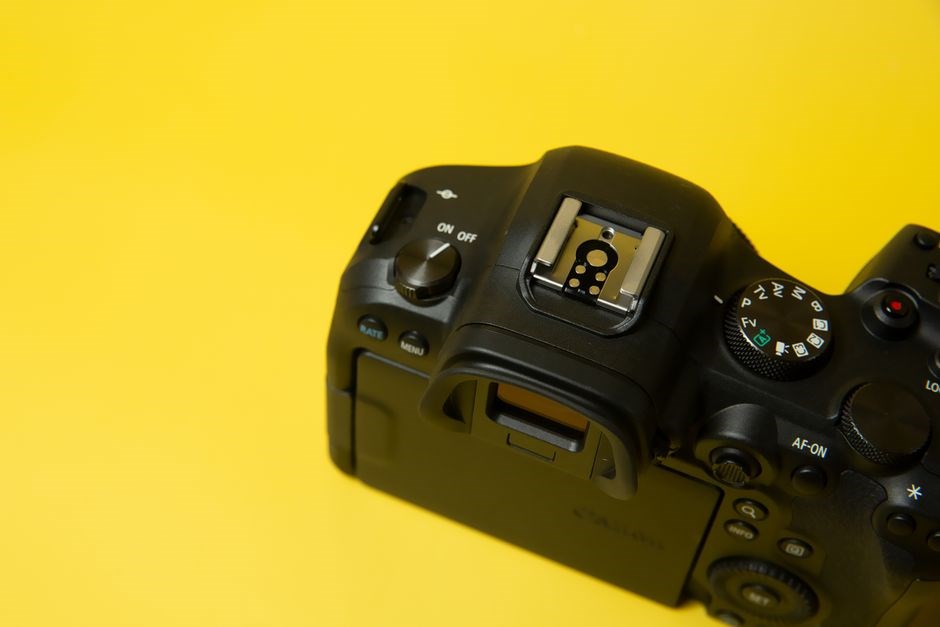
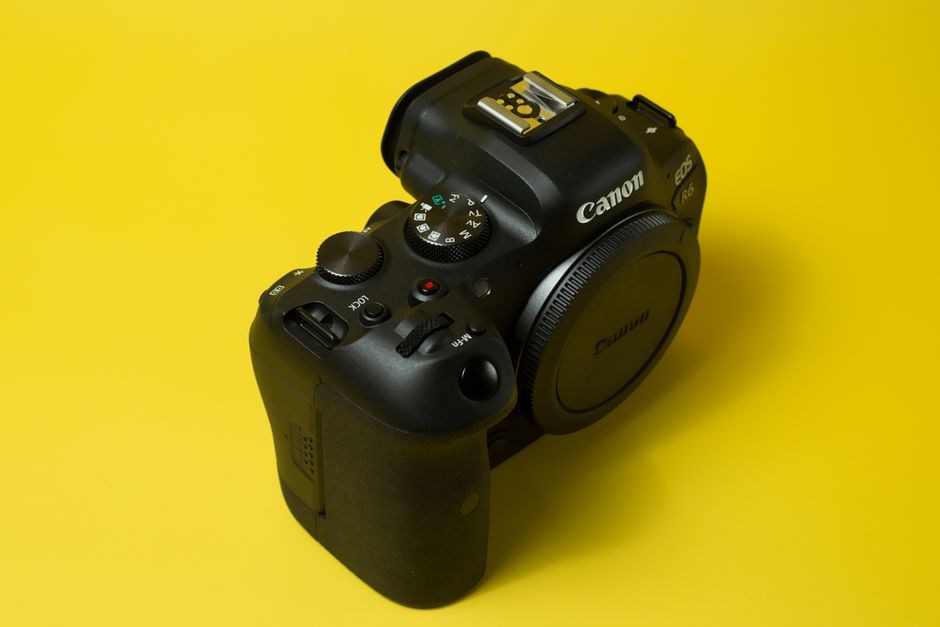
Camera Body Overview
The Canon 6D Mark II body blends durability and ergonomics; Its magnesium‑aluminum alloy chassis resists dust and moisture, while a 3‑inch touchscreen and 3‑point EVF provide intuitive control. Dual CFexpress/SD slots enable high‑speed recording, and a robust battery life of 1,200 shots supports sessions.
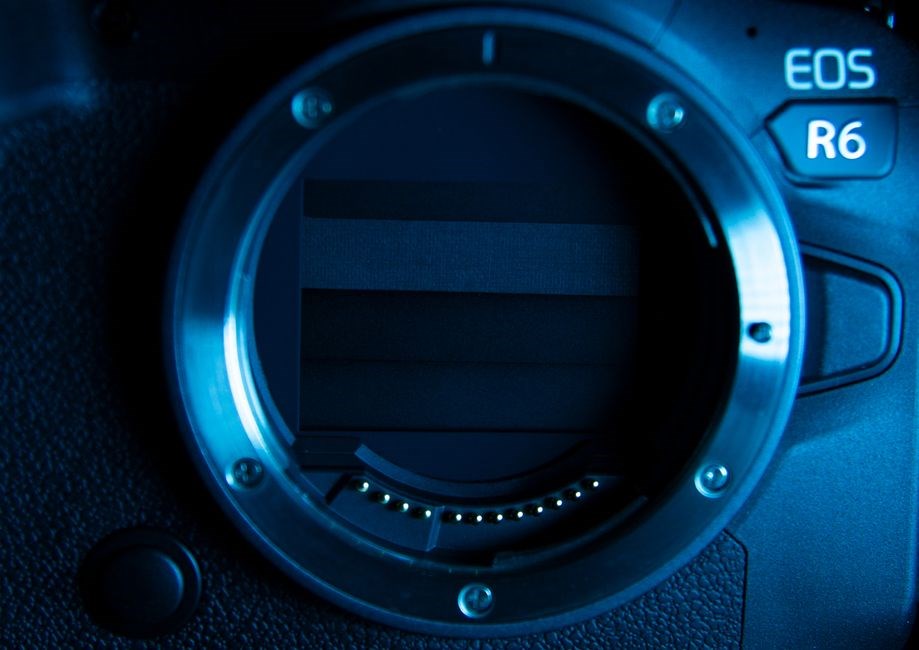
2.1 Important Specifications
The Canon 6D Mark II sensor is a 26.2‑megapixel full‑frame CMOS unit that delivers a 14.0 dB dynamic range and 12‑bit RAW output, preserving 4096 tonal values for fine detail. Its 5.5 µm pixel pitch provides excellent low‑light performance, while the DIGIC 8 processor enables 60 fps continuous shooting at ISO 100‑25,600, with a 4‑frame buffer. The autofocus system features 45 cross‑type AF points, 100 % coverage, and Eye‑Detection, ensuring sharp focus in portrait and wildlife scenarios. Built‑in GPS, Wi‑Fi, and Bluetooth allow seamless connectivity for remote control and image transfer via Canon’s EOS Utility. The camera’s 3‑inch vari‑optical viewfinder displays 2.36 million dots, and the 3‑inch touchscreen LCD offers intuitive menu navigation. Battery life reaches 1,200 shots per charge (CIPA), powered by the LP‑N75 battery. The ISO range is 100‑25,600, expandable to 102,400 for extreme low‑light situations. Shutter speeds range from 30 s to 1/8000 s, with a 1/30 s bulb mode for long exposures. Video capabilities include 4K UHD 30 fps, 1080p 60 fps, and 720p 120 fps, with full‑bandwidth HDMI output. Dual CFexpress/SD slots support up to 1 GB/s transfer rates, and the body’s magnesium‑aluminum alloy construction is weather‑sealed for outdoor use. Dimensions are 138 × 104 × 78 mm, weight 860 g, and a 3‑point EVF, 3‑inch LCD, and a robust battery life of 1,200 shots. Firmware is upgradable via USB, and the camera supports Canon’s EOS Utility for remote shooting. The camera’s ergonomic design includes a comfortable grip, a 3‑way tilt LCD, and a dedicated shutter button, making it ideal for studio and on‑the‑go shooting. Build featuring a magnesium frame weather‑sealed ensures durability GPS and Wi‑Fi allow instant sharingvia Canon Connect.

Power and Battery Management
The Canon 6D Mark II uses the LP‑N75 battery, offering up to 1,200 shots per charge. Use the battery grip for extended life, and keep spare batteries in a cool, dry place. Monitor battery status via the LCD, and enable low‑power mode to conserve energy during long shoots. Keep batteries charged and swap.
3.1 Battery Types and Usage Tips
The battery management section covers charging practices, storage guidelines, temperature precautions, power‑saving techniques, backup strategies, maintenance routines, and firmware updates. Following these guidelines ensures reliable performance and extends battery life.
- Charging: Use the supplied charger; avoid overcharging by disconnecting once the indicator turns green.
- Storage: Store batteries at 15–25 °C with a 50% charge to preserve longevity.
- Temperature: In cold environments, keep batteries warm and allow them to reach room temperature before use.
- Power‑saving: Enable the camera’s low‑power mode, disable the rear LCD when not needed, and use the viewfinder for framing.
- Backup: Carry at least one spare battery and a spare charger for travel or studio work.
- Maintenance: Periodically check the battery contacts for corrosion and clean with a dry cloth.
- Firmware: Update the camera firmware to ensure optimal power‑management features and compatibility with newer batteries.
Follow battery tips daily!!
By following these battery management practices, photographers can maximize shooting time, reduce downtime, and protect your investment. Proper charging, storage, temperature control, power‑saving settings, backup planning, maintenance, and firmware updates work together to ensure reliable performance and longevity of the Canon 6D Mark II’s power system. This ensures optimal battery health.

Storage and Memory Cards
Choose SDXC UHS‑II cards for 4K video and high‑speed burst. Use cards with a minimum 90 MB/s write speed. Format in camera before use. Keep spare cards, and back up data regularly to protect against corruption. Check card speed in settings before shooting for daily safety
4.1 Recommended Card Types and Settings
For optimal performance with the Canon 6D Mark II, use SDXC UHS‑II cards rated at least 90 MB/s write speed, such as the SanDisk Extreme Pro or Lexar Professional 2000x. These cards support 4K video, continuous burst shooting, and high‑resolution RAW capture. Avoid SDHC or UHS‑I cards, as they limit frame rates and may cause buffer overflows during extended shoots. When inserting a new card, format it in the camera’s menu to ensure the file system is correctly initialized. Enable the “High‑Speed” mode in the camera’s settings to allow the full UHS‑II bandwidth. For critical work, keep a spare card in the camera’s dual‑card slot and set the “Card 1” to “Auto” and “Card 2” to “High‑Speed” to balance speed and redundancy. Enable “Auto‑Delete” for low‑memory situations, but disable it when recording long video sessions to avoid accidental loss. Use the “File Format” setting to choose RAW + JPEG or RAW only, depending on post‑processing workflow. For high‑resolution images, select “RAW” to preserve maximum data. For quick sharing, choose “JPEG” with a high quality level. In the “Playback” menu, set “Playback Speed” to “Fast” for rapid review, and enable “Auto‑Save” to preserve images on the card. Finally, keep firmware updated, as Canon often releases updates that improve card compatibility and performance. By following these guidelines, you’ll ensure smooth shooting, reliable data storage, and optimal image quality. Always verify card health via the camera’s diagnostics before critical shoots. Daily. AS Ensure the card’s firmware is up‑to‑date and run health check before session.!
Menu System and Navigation
The 6D Mark II menu is organized into three main sections: Setup, Shooting, and Playback. Use the multi‑dial to navigate, and the menu button to select. Customize shortcuts, set default picture styles, and adjust autofocus zones. The camera’s intuitive layout speeds workflow. Use Quick Menu for quick edit.

5.1 Menu Structure and Customization
The Canon 6D Mark II’s menu is divided into three primary tabs: Setup, Shooting, and Playback. Each tab contains multiple pages accessible via the multi‑dial. The Setup tab handles system settings such as language, date/time, and power‑saving options. The Shooting tab houses exposure controls, autofocus settings, and image quality parameters. Playback allows you to review, edit, and share images directly from the camera.
Customization is achieved through the “Custom Functions” page, where users can assign specific actions to the Quick Menu buttons. The Quick Menu can be tailored to display the most frequently used settings, such as ISO, white balance, or picture style. Additionally, the camera supports “Menu Customization” to reorder pages or hide unused options, streamlining the interface for faster access.
To modify the menu, press the Menu button, navigate to the desired tab, and use the “+” or “–” buttons to adjust values. The “Save” option preserves your configuration across power cycles. For advanced users, the “Menu Customization” feature allows the creation of a custom menu layout, enabling a more efficient shooting workflow tailored to individual preferences!
When navigating, the camera displays a numeric page indicator and a brief icon description; For example, the “Image Quality” page shows a camera icon and the current setting. Users can quickly jump to a page by pressing the “Page” button or using the “+” and “–” buttons to scroll through the list. The “Menu” button also offers a “Menu Reset” function to restore factory defaults if needed? The “Menu” button also offers a “Menu Reset” function to restore factory defaults if needed!
For photographers who require rapid adjustments, the “Menu Customization” feature allows the creation of a custom menu layout. By selecting “Custom Menu” from the Setup tab, users can add, remove, or rearrange pages. This flexibility ensures that the most relevant settings—such as focus mode, exposure compensation, or image stabilization—are immediately accessible, reducing the time spent hunting through nested menus.
Shooting Modes and Settings
The Canon 6D Mark II offers versatile shooting modes: Manual, Aperture Priority, Shutter Priority, and Program. Autofocus, exposure compensation, and white‑balance presets enhance flexibility. Users can fine‑tune ISO, shutter speed, and aperture for creative control.
6.1 Manual, Aperture Priority, and More
The Canon 6D Mark II manual mode grants full control over ISO, shutter speed, and aperture, enabling precise exposure for any scene. Aperture Priority (Av) locks the chosen f‑stop while the camera selects an appropriate shutter speed, ideal for depth‑of‑field control. Shutter Priority (Tv) keeps the shutter speed fixed, letting the camera adjust aperture for exposure, useful in action or low‑light situations. Program (P) mode automatically balances the two, yet still allows fine‑tuning via the quick‑dial. The exposure compensation wheel offers ±3 EV adjustments in 1/3‑EV steps, letting you brighten or darken scenes without leaving the selected mode. ISO ranges from 100 to 25600, with Auto‑ISO available to maintain optimal exposure under changing light. The built‑in metering system—evaluative, center‑weighted, and partial—provides accurate exposure calculations, while the histogram displays real‑time data for instant feedback. Custom settings such as picture styles (Standard, Portrait, Landscape, Neutral, Faithful, Monochrome) and color space (sRGB, Adobe RGB) can be applied per mode, ensuring consistent output. For advanced users, the camera supports RAW shooting, preserving maximum dynamic range and post‑processing flexibility. The built‑in Wi‑Fi and NFC allow quick transfer of images to a smartphone or tablet, while the rear LCD’s touch‑screen interface facilitates easy menu navigation and focus point selection. The 6D II’s robust build and weather‑sealed body make it reliable for outdoor shooting, and its 3‑second continuous autofocus makes it suitable for sports and wildlife photography. Exposure lock (AEL) via the dedicated button lets photographers freeze exposure settings while moving the camera, ensuring consistent lighting. It saves time daily!?

Maintenance and Troubleshooting
Clean the Canon 6D II sensor with a blower, wipe lens contacts, and replace batteries when voltage drops. Update firmware via USB to fix bugs. If autofocus stalls, reset settings. For screen flicker, adjust brightness or reset image settings. Store in a dry case. Check focus, clean with microfiber cloth.!
7.1 Cleaning, Firmware Updates, and Common Issues
Keeping the Canon 6D Mark II in peak condition starts with regular cleaning. Use a dedicated sensor‑cleaning kit: a blower to remove dust, a soft brush for the sensor, and a microfiber cloth for the lens mount. Never touch the sensor directly; always use the supplied tools. For the body, wipe the exterior with a slightly damp cloth, avoiding the LCD and sensor area. The battery compartment should be checked monthly; remove any corrosion with a cotton swab and isopropyl alcohol.
Firmware updates resolve bugs, improve autofocus, and add features. Connect the camera to a PC via USB, download the latest version from Canon’s website, and copy the file to a FAT32‑formatted SD card. Insert the card, go to Menu → System → Firmware Update, and follow the on‑screen prompts. Ensure the battery is fully charged and the camera is in a stable location to prevent interruption.
Common issues include autofocus lag, sensor‑dust streaks, and power‑on errors. If autofocus stalls, reset the AF settings or re‑calibrate with a flat, evenly lit surface. Persistent sensor dust appears as dark spots; a professional cleaning kit or service may be required. Power‑on errors often stem from a depleted battery or a faulty power connector; replace the battery or inspect the connector for damage.
When cleaning the sensor, always work in a dust‑free environment. After blowing, use a sensor‑cleaning solution and a sensor‑cleaning pad, applying gentle pressure. For the rear LCD, use a specialized LCD cleaner and avoid abrasive materials. If the camera displays a black screen after a firmware update, reset the settings to default and retry the update.
Another frequent problem is the “red light” indicating a low battery. Replace the battery with a genuine Canon LP‑H120 or a compatible Li‑ion battery rated at 3.7 V. If the camera still fails to power on, check the power connector for bent pins and clean them with a dry brush. Finally, keep the camera’s firmware up to date; Canon releases updates that improve image processing speed and fix rare bugs that can cause image distortion or shutter lag.
Remember to back up your images regularly and store the camera in a climate‑controlled case when not in use.