no sew fleece blanket instructions pdf
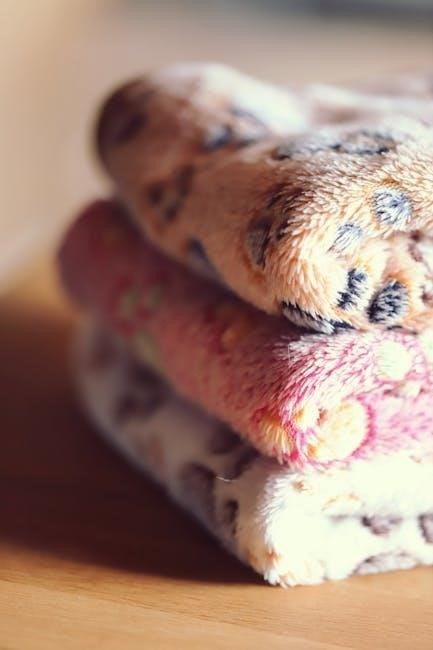
Create a cozy no-sew fleece blanket with ease! Perfect for gifts‚ donations‚ or community projects. Customize with colors and patterns for a personal touch. A thoughtful way to show care and support.
1.1 What is a No-Sew Fleece Blanket?
A no-sew fleece blanket is a simple‚ DIY project made from fleece fabric‚ requiring no sewing. It involves cutting fringe along the edges and tying knots to secure the layers. Perfect for beginners‚ this blanket is cozy‚ customizable‚ and quick to make. Ideal for gifts‚ donations‚ or personal use‚ it’s a thoughtful way to provide warmth and comfort.
1.2 Benefits of Making a No-Sew Fleece Blanket
Making a no-sew fleece blanket offers numerous benefits. It’s quick‚ requiring no sewing skills‚ making it accessible to all. The process is therapeutic and fun‚ ideal for group activities. Blankets are cozy‚ durable‚ and customizable‚ perfect for personal use or donations. They provide warmth and comfort‚ making them a thoughtful gift for loved ones or those in need.
Materials and Tools Needed
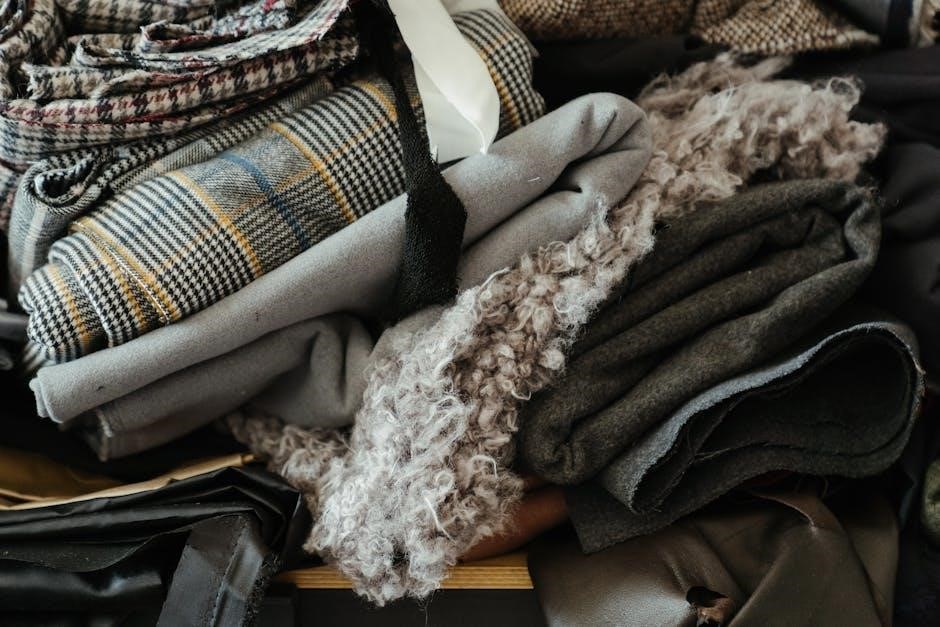
High-quality fleece fabric (50-60 inches wide)‚ sharp scissors‚ ruler‚ rotary cutter‚ cutting mat‚ and optional templates for precise cuts. Essential for a professional finish.
2.1 List of Required Materials
- Fleece fabric (50-60 inches wide‚ anti-pill recommended)
- Sharp fabric scissors or rotary cutter
- Cutting mat or protective surface
- Ruler or measuring tape
- Optional: June Tailor Shape Cut template
- Two 2-yard lengths of coordinating fleece for double-layer blankets
These materials ensure a professional finish and ease of use for your no-sew fleece blanket project.
2.2 Essential Tools for Cutting and Trimming
- Sharp fabric scissors for clean cuts
- Rotary cutter and mat for precise trimming
- Long ruler or measuring tape for straight edges
- June Tailor Shape Cut template for uniform fringe
- Protective surface to prevent damage during cutting
These tools ensure accurate cuts and a professional finish‚ making the process efficient and enjoyable.
Cutting the Fleece
Cut the fleece accurately by removing selvage edges and trimming uneven sides for a polished look. Use tools like rotary cutters and templates for precise cuts.
3.1 How to Remove the Selvage Edge
Start by identifying the selvage edges‚ the factory-finished sides of the fleece. Use sharp scissors or a rotary cutter to carefully cut off these edges. This step ensures a clean finish and prevents bulkiness. Remove the selvage from all sides‚ making sure cuts are straight to maintain fabric stability and achieve a professional look for your blanket.
3.2 Trimming Uneven Edges for a Professional Finish
After removing the selvage‚ inspect the fleece for uneven edges. Use sharp scissors or a rotary cutter to trim any irregularities‚ ensuring straight cuts. For precision‚ place the fleece on a cutting mat and align with a ruler. This step guarantees a polished look and prevents fraying‚ making your blanket appear professionally finished and neat.
Creating the Fringe
Creating the fringe involves cutting 1-inch wide strips around the blanket’s edges. Use a template or ruler for consistent cuts‚ ensuring a neat and uniform appearance.
4.1 Cutting Fringe Strips
Cut 1-inch wide fringe strips along the blanket’s edges using sharp scissors or a rotary cutter. Ensure strips are consistent in length‚ typically 4 inches‚ for a polished look. Use a ruler or template to guide precise cuts. Align fabric layers carefully to maintain evenness. This step sets the foundation for tying the fringe securely and evenly.
4.2 Tips for Even and Consistent Fringe
For even fringe‚ use a rotary cutter and mat with a 1×4 pattern template. Cut through both fabric layers simultaneously to ensure consistency; Pinning layers together prevents shifting. Measure strips carefully and maintain uniform length. Avoid overlapping or uneven cuts to achieve a professional finish. Precise cutting ensures the fringe ties neatly and evenly around the blanket.
Tying the Fringe
Tie overhand knots close to the edge using one strip from the front and one from the back. This creates a secure‚ polished fringe finish. Ensure even spacing for a professional look by tying consistently around the blanket. Avoid tying two fringe strips together for a clean appearance. Follow step-by-step instructions for uniform results and a cozy‚ finished blanket.
5.1 Basic Knotting Technique
Start by holding one fringe strip from the front and one from the back. Tie an overhand knot close to the blanket’s edge. Ensure the knot is snug but not too tight. Repeat this process for each set of fringe strips‚ working evenly around the blanket. This simple method ensures a secure and finished look. Always tie knots consistently for a professional appearance.
5.2 Advanced Knotting for a Decorative Edge
Elevate your blanket with decorative knots. Begin by tying a standard overhand knot‚ then wrap the fringe around itself before securing. Experiment with double knots or looping techniques for added texture. For a polished finish‚ ensure all knots are evenly spaced and tightly secured. This technique adds visual interest and a professional touch to your no-sew fleece blanket.
Adding Embellishments
Enhance your no-sew fleece blanket with personalized touches. Use iron-on designs or fabric paint to add names‚ patterns‚ or messages. A simple yet meaningful way to make it unique. Customize colors and styles to match preferences‚ creating a one-of-a-kind gift or keepsake. This step adds character and personal flair to your finished blanket.
6.1 Iron-On Designs and Patches
Add a personal touch with iron-on designs and patches. Choose from various patterns‚ letters‚ or shapes. Follow the manufacturer’s instructions for application. Place the design on the fleece‚ cover with a cloth‚ and press with an iron. Ensure the surface is smooth and free of wrinkles for a secure bond. This method allows for durable and long-lasting embellishments without sewing. Ideal for names‚ logos‚ or decorative elements. Perfect for creating unique‚ personalized blankets. Adds a professional finish to your no-sew project. Easy to apply and versatile for all designs. A great way to customize your blanket. Ensure the iron is set to the correct temperature for the best results. Allow the design to cool before handling. This technique is quick and effective‚ making it perfect for all skill levels. Achieve professional-looking results with minimal effort.
Add a personal message or design using fabric paint. Choose vibrant colors and bold strokes for visibility. Use stencils or freehand to create unique patterns. Apply paint evenly‚ allowing it to dry completely before handling. Heat-set the paint with an iron for durability. This method adds a personal touch without sewing. Perfect for names‚ quotes‚ or artistic designs. Easy to use and long-lasting. A creative way to make your blanket truly special. Ideal for all skill levels. Fabric paint adheres well to fleece‚ ensuring a professional finish. Customize your blanket with meaningful messages or decorative elements. A fun and creative way to personalize your project. Achieve lasting results with minimal effort. Great for gifts or keepsakes. Make your no-sew fleece blanket stand out with personalized fabric paint designs. Easy to apply and quick to dry. Perfect for all occasions. Project Linus requires single-layer fleece blankets to provide comfort to children in crisis. No sewing needed‚ making it easy to donate and bring warmth easily to those in need. Project Linus requires single-layer fleece blankets‚ preferably made from anti-pill fleece. Avoid tying fringes from both sides‚ as it may cause bulk. Blankets should be between 30×40 inches and 50×60 inches. Ensure edges are trimmed evenly‚ and avoid using embellishments that could pose a safety risk. Follow these guidelines to create a cozy‚ durable blanket for children in need. Choose anti-pill fleece for durability and softness. Standard sizes range from 30×40 inches for children to 50×60 inches for adults. Use high-quality fleece‚ 50-60 inches wide‚ ensuring vibrant colors and plush texture. Larger blankets (60×80 inches) are ideal for families. Follow these guidelines to craft comfortable‚ long-lasting blankets suitable for donations or personal use. Standard sizes include 30×40 inches for children‚ 50×60 inches for adults‚ and 60×80 inches for family blankets. Choose a size that suits the recipient’s needs. Standard no-sew fleece blankets come in various sizes‚ including 30×40 inches for children‚ 50×60 inches for adults‚ and 60×80 inches for family use. These sizes ensure comfort and practicality‚ making them ideal for donations‚ gifts‚ or personal use. The fabric width is typically 60 inches‚ allowing for easy customization to meet specific needs. Easily tailor your no-sew fleece blanket to fit specific requirements. For babies‚ opt for a smaller 30×40 inch size‚ while larger sizes like 80×90 inches are perfect for family use. Adjustments can also be made for wheelchair accessibility or as lap blankets‚ ensuring comfort and functionality. Customization allows the blanket to serve various purposes and preferences effectively. Use a rotary cutter and mat for smooth‚ straight cuts. Ensure consistent fringe length by marking measurements beforehand. Templates help maintain uniformity in fringe and edge trimming for a polished finish. Templates are essential for achieving uniform cuts and fringe. Use a rotary cutter and mat with a June Tailor Shape Cut template to ensure precise‚ even cuts. A 4-inch square template helps create consistent corner cuts. Templates simplify the process‚ guaranteeing professional results and uniform fringe length. This ensures your blanket looks polished and well-crafted‚ every time. Properly aligning fabric layers is crucial for a seamless finish. Pin both layers together tightly to prevent shifting during cutting. Use a ruler or measuring tape to ensure edges match perfectly. For even fringe‚ align the top and bottom layers accurately before cutting strips. This step ensures your blanket’s fringe is consistent and visually appealing. Precision alignment guarantees professional results. Organize a fun and collaborative workshop where participants can create no-sew fleece blankets together. Great for community bonding and charity initiatives‚ ensuring everyone learns and contributes. Hosting a workshop is a great way to engage the community in crafting no-sew fleece blankets. Start by promoting the event through local channels. Gather essential supplies like scissors‚ rulers‚ and ample fleece. Assign tasks to volunteers‚ such as cutting fringe or demonstrating tying techniques. Ensure a welcoming space with tables and clear instructions. Encourage teamwork and creativity‚ making it a fun and productive experience for all participants. This collective effort not only produces warm blankets but also fosters connections and a sense of accomplishment within the community. For large groups‚ gather ample supplies‚ including sharp fabric scissors‚ rotary cutters‚ rulers‚ cutting mats‚ and fringe templates. Ensure enough coordinating fleece for each participant‚ with extra for mistakes. Provide gloves for comfort and tables for workspace. Assign tools per station to avoid delays. Encourage participants to bring their own scissors for efficiency. Plan for storage and distribution of finished blankets. Handle sharp tools like scissors and rotary cutters with care. Supervise children during cutting. Ensure a clear workspace to prevent accidents and injuries while crafting. Use scissors‚ rotary cutters‚ and other sharp tools with caution. Keep fingers away from blades and ensure proper grip. Store tools securely out of children’s reach. Always cut on a stable surface‚ and maintain a clear workspace to avoid accidents. Supervise children when handling sharp objects to ensure safety while crafting the blanket. Always supervise children when they handle sharp objects or tools. Demonstrate safe techniques and ensure they understand proper handling. Teach them to cut away from their bodies and keep fingers clear of blades. This helps prevent accidents and fosters a safe‚ enjoyable crafting experience for kids while making the blanket. Download free PDF patterns for no-sew fleece blankets‚ featuring fringe templates and step-by-step guides. Access printable instructions for easy reference and creative designs to enhance your project. Enhance your no-sew fleece blanket with downloadable PDF templates for fringe and edging. These templates provide precise measurements and patterns to create uniform fringe and a polished finish. Perfect for beginners‚ they ensure consistency and professionalism in your project. Easily accessible online‚ these tools help you achieve a flawless‚ store-bought look for your homemade blanket. Printable PDF instructions offer a convenient guide for making no-sew fleece blankets. Step-by-step directions‚ visual aids‚ and measurements ensure clarity. Perfect for beginners or experienced crafters‚ these instructions are easy to follow and keep handy. They cover everything from cutting fringe to tying knots‚ making the process straightforward and stress-free. Print and use as a handy reference during your project. Elevate your no-sew fleece blanket with multi-layer designs or vibrant color combinations. Add personalized touches like iron-on designs or fabric paint for a unique‚ heartfelt creation. Experiment with patterns and embellishments to make each blanket truly special and tailored to the recipient’s preferences. Multi-layer fleece blankets offer enhanced warmth and texture. Stack two or more fleece layers‚ aligning edges carefully. Cut fringe and tie knots through all layers for a sturdy‚ cohesive design. This method adds durability and visual appeal‚ making it ideal for gifts or donations. Use coordinating colors for a vibrant‚ personalized touch to your creation. Add personality to your blanket by mixing patterns and colors. Alternate strips of solid and printed fleece for a vibrant look. Use contrasting hues to create a modern‚ layered effect. This technique allows for endless creativity‚ making each blanket unique. It’s a great way to use leftover fabric or showcase favorite designs for a truly personalized finish.6.2 Fabric Paint for Personalized Messages
Project Linus Fleece Blanket Requirements
7.1 Specific Guidelines for Donations
7.2 Recommended Sizes and Materials
Size and Measurement Options
8.1 Standard Blanket Sizes
8.2 Customizing the Size for Specific Needs
Tips for Accuracy and Precision
9.1 Using Templates for Consistency
9.2 Aligning Fabric Layers Correctly
Group Projects and Workshops
10.1 Organizing a Community Fleece Blanket Workshop
10.2 Supplies Needed for Large Groups
Safety Precautions
11.1 Handling Sharp Objects Safely
11.2 Supervising Children During the Process
Free PDF Patterns and Resources
12.1 Downloadable Templates for Fringe and Edging
12.2 Printable Instructions for Easy Reference
Variations and Creative Ideas
13.1 Multi-Layer Fleece Blankets
13.2 Incorporating Different Fleece Patterns and Colors